

Many people wonder how in a restaurant they can make these perfect grill marks on a steak or on any other meat they serve.
It is not as hard as most people think it is and I will try to explain it here as well as I can.
Here is my explanation of how to get grill marks perfect every time.
Just to make sure, I added a video from a Chef who is showing it on the grill and maybe make it more clear than I do.
A steak comes most of the time with a nice price tag, and therefore most people are scared that they will burn it and ruin a good steak.
Believe me, I did that many times before I learned how to grill a steak.
If you follow the tips in this article, you will never have to worry about that anymore.
Eddie’s Tip! You make your grill marks first, and then you finish cooking your steak or any other kind of meat.
When the grill marks are done, your meat is probably still pretty much raw on the inside.
Here are the steps you take to prepare a great steak with perfect crosshatch grill marks.
Set up your grill with 2 temperature zones (read here how to do that) or if you can not do that heat it to a high temperature.
Prepare your meat the way you are used and in the meantime wait till the grill is hot.
Make sure that the grill grate is clean and use some olive oil on it before you start.
Here comes the trick of making the perfect grill marks
- We all know how a clock looks. Place your meat at 10 o’clock on the grate and leave it there till the marks are done
- Now place it at a 90-degree angle on the 2 o’clock and until the marks are done.
What most people will do now is repeat it on the other side.
I think differently about that. You or your guests will never see the other side, so why bother !!
However, if your grill or hatch marks did not turn out the way you would like to see them here is your second chance.!!
Just remember that the total grill time now has to be shorter because you cooked on the side already.
Now move the steak to the cooler side of the grill or take it off the grill and turn the grill down to cool it off and cook if you do not have a cooler side to steak to the doneness you like to eat or serve it.
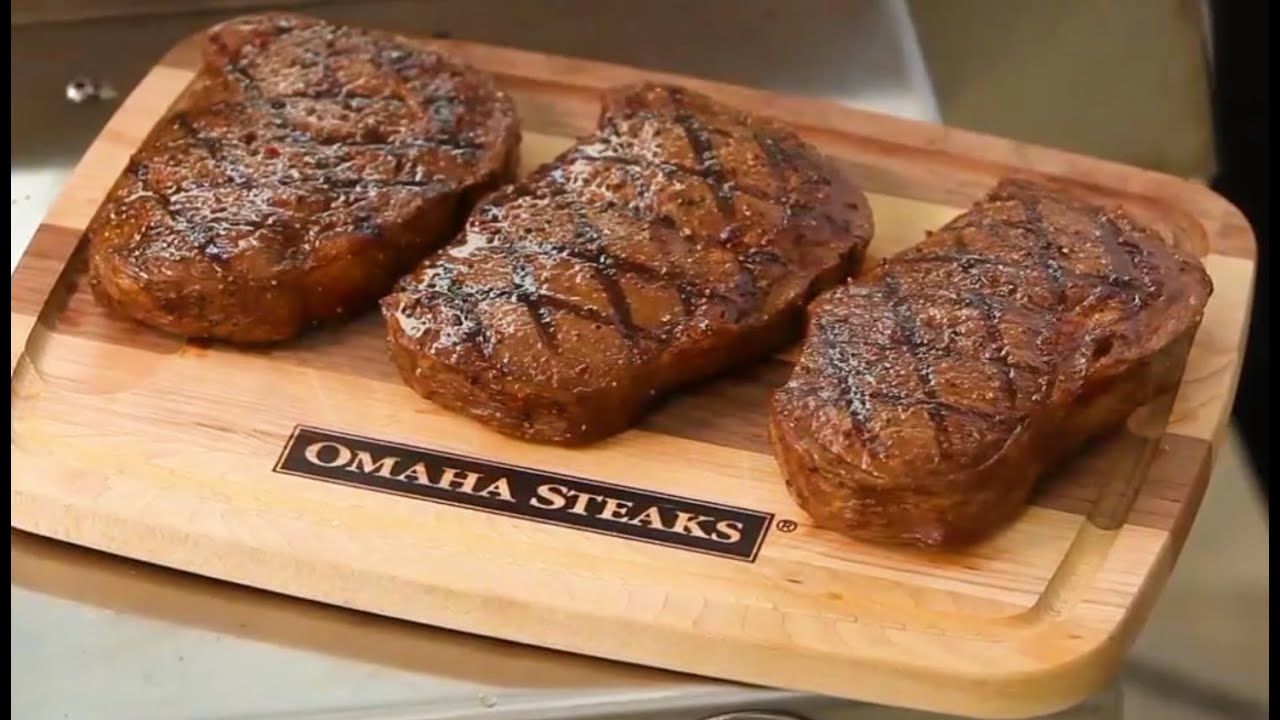
Here are two videos that show how top chefs explain how to make the perfect crosshatch grill marks on a steak.
The first video is from Omaha Steaks
This one is from the premier culinary college.
I hope I made it a little clearer how easy it is to make nice crosshatch grill marks on most pieces of meat by doing it step by step. I have also noticed that most chefs use cast iron grill grates.
Make your grill marks first and then finish cooking your meat that is the whole trick to it.
Now I can hear someone say, “Okay, but how do I do this on a hamburger? That is a round piece of meat.” Well, it is not so hard.
After you make your first grill mark pick up your meat as if it is at 10 o’clock and turn it to 2 o’clock by keeping your tongs in that angle as they show in both videos.
Also, remember that no one will check the angles so they do not have to be that perfect.
There is a section of the best BBQ and grilling books I read. There you can read the reviews of some recommended grill and BBQ books to learn more about how to grill and BBQ
If you have another way of making perfect crosshatch grill marks just add it to the comment section or contact me and I will add it to this article.
Happy grilling.
Related Posts


Eddie van Aken – The Grilling Dutchman
Eddie van Aken is the founder of The Grilling Dutchman, where he shares practical BBQ tips, smoking techniques, recipes, and grill reviews based on real-world experience. After years of cooking on pellet grills, charcoal grills, smokers, and kamado cookers, he focuses on helping backyard cooks get better results with less guesswork. Learn more about Eddie van Aken. Learn more about Eddie van Aken.