
I still remember my very first grill. I fired it up without seasoning, thinking, “How bad can it be?” Well… the burgers were horrible, and the whole thing smoked like a chimney. Lesson learned: you’ve got to season a grill before you use it.
If you’re just getting started with grilling, check out my Grilling Basics hub for everything you need to know about tools, techniques, and essential tips
Key Takeaways For Seasoning A Grill
- A good cleaning before seasoning is a necessary step
- Understanding the type of grill you have is crucial before seasoning it.
- Choosing the right oil is important to getting the best results.
Why Season a Grill?
Seasoning a grill isn’t just a ritual, it will:
- Protects your grill from rust and corrosion.
- Creates a non-stick surface for easier cooking and cleaning.
- Removes leftover oils and manufacturing residues.
- Enhances the flavor of your food.
Think of it like giving your grill a little spa day before the real work begins.
Understand Your Grill
Different grills require slightly different approaches:
Gas Grills – Clean the burners and grates thoroughly. A quick wire brush goes a long way.
Charcoal Grills – Make sure the charcoal is evenly distributed, and the ventilation is clear. This ensures even heating for proper seasoning.
Electric Grills – Wipe down the heating element with a damp cloth. Clean, dry, and ready.
Eddie’s Tip! Always follow the manufacturer’s instructions—they’re not just fluff.
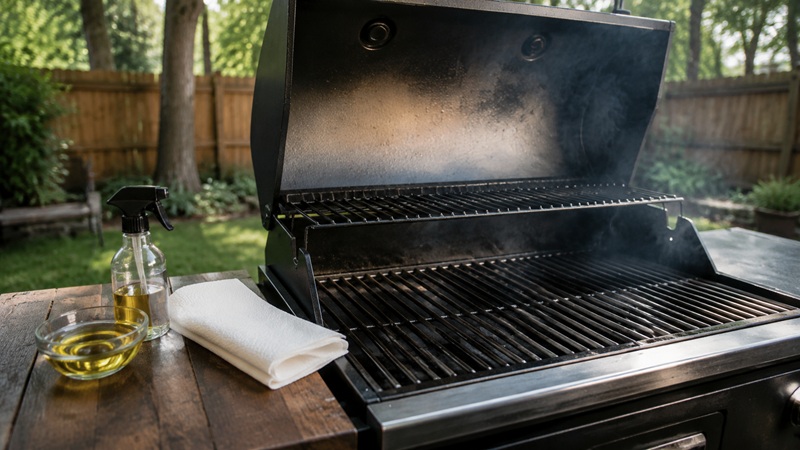
Choosing the Right Oil
Use a high smoke-point oil to avoid burning:
- Vegetable Oil – All-purpose, neutral flavor.
- Canola Oil – High smoke point, won’t affect food flavor.
- Peanut Oil – Adds a slightly nutty flavor.
- Grapeseed Oil – Neutral, good for delicate foods.
Eddie’s Tip! I like to preheat the oil slightly. It sticks better and helps with a stronger non-stick layer.
Most of these oils I also use as the best oils for my flat top grill.
Cleaning the Grill Before Seasoning
- Remove grates and wipe down the grill interior with warm, soapy water.
- Scrub any stubborn residue with a stiff brush.
- Rinse everything thoroughly and let it dry completely—moisture will prevent proper seasoning.
Eddie’s Tip! Even if your grill is brand new, a quick cleaning before seasoning pays off big time.
The Seasoning Process
- Apply Oil: Use a paper towel, brush, or spray bottle to coat all grates and surfaces. Thin and even is key.
- Heat: Gas: ~500°F for 15 min | Charcoal: 20–25 min | Electric: 10–15 min. This polymerizes the oil, bonding it to the metal.
- Cool & Wipe: Turn off the heat, let the grill cool, then wipe off any excess oil.
I repeat this every few months or before winter storage to maintain a non-stick surface and prevent rust.
Maintaining Your Seasoned Grill
- Clean After Each Use: Brush grates, remove debris, wipe down surfaces.
- Oil the Grates: A thin layer after cleaning prevents rust.
- Cover the Grill: Protects from rain, wind, and UV damage.
- Check Burners: Replace damaged burners promptly.
- Store Properly: Cool, dry location away from extreme weather.
Eddie’s Tip! Treat your grill like your car. You wouldn’t skip washing your car for months, so don’t skip seasoning your grill!
How To Season A Grill – My Experience
Seasoning your grill makes all the difference. I have done it hundreds of times now, and it’s one of the easiest ways to guarantee great flavor, avoid sticky grates, and extend the life of your grill.
The same goes for smokers. I’ve covered all the steps in my How To Season a Smoker guide, which you can follow if you’re using one
Take 20–30 minutes, follow these steps, and your next BBQ will taste amazing—and your grill will thank you.
Eddie van Aken – The Grilling Dutchman
Eddie van Aken is the founder of The Grilling Dutchman, where he shares practical BBQ tips, smoking techniques, recipes, and grill reviews based on real-world experience. After years of cooking on pellet grills, charcoal grills, smokers, and kamado cookers, he focuses on helping backyard cooks get better results with less guesswork. Learn more about Eddie van Aken. Learn more about Eddie van Aken.